As I said in my first post on SolidWorks 2010, Drawings received A LOT of enhancements! Today we are going to take a look at a few of them that relate to dimensioning.
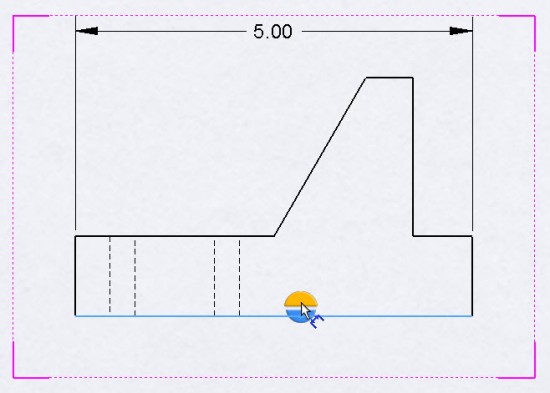
Rapid Dimension is a new option that allows for quick placement of dimensions in Drawings. As soon as you select a edge (or two points) you immediately see a divided circle. For example, if you attempt to place a horizontal dimension, a divided circle appears which has a top and bottom section (each being displayed with different colors). If you select the “top” of the circle, the dimension is automatically placed at the top of the view. If you select the “bottom” of the circle, the dimension is automatically placed at the bottom of the view. SolidWorks intelligently places the dimensions utilizing the dimension spacing settings in the Document Properties. Rapid Dimension will also MOVE existing dimensions so that spacing settings are not violated. The dimensions are still completely adjustable so that you have the freedom to position them as you please.
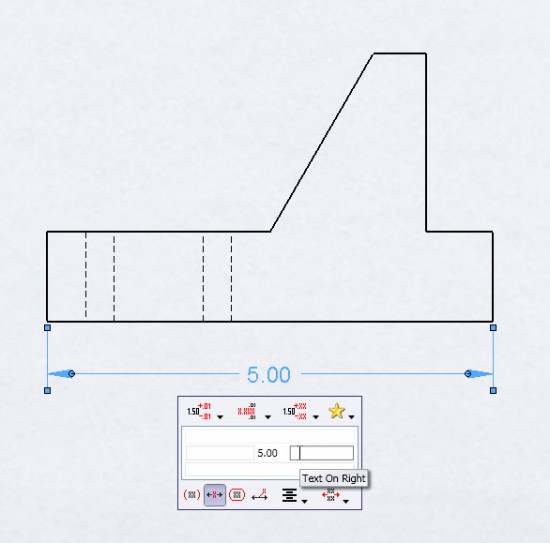
The Dimension Palette is another enhancement that is sure to be a hit with users. The Dimension Palette is a pop-up dialog that appears near the mouse cursor when a dimension is selected. It allows the user to change common dimension properties right in the graphics area without having to make the changes through the PropertyManager. Using this tool will result in less mouse movement and allow the user to focus solely on the graphics area when setting up dimensions in a Drawing. The following adjustments can be made a dimension using the Dimension Palette tool.
- Tolerance Type
- Unit Precision
- Tolerance Precision
- Apply Styles
- Add text to the Left, Right, Top, & Bottom of the Dimension
- Add Parenthesis
- Center Dimension
- Inspection Dimension
- Offset Text
- Horizontal & Vertical Justification
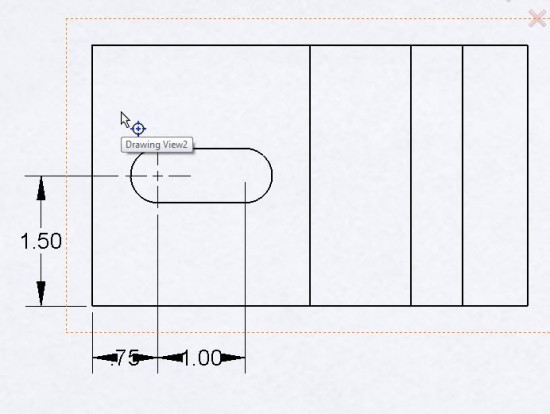
Also new in relation to Dimensions is improved behavior for Center Marks in Drawings. You can now place Center Marks on holes or arcs already dimensioned and the extension lines of the dimensions trim back to the Document Property spacing setting in relation to the Center Mark. Another caveat to this enhancement is that you can now delete the Center Mark and the dimensions will no longer be left in a dangling state. In previous versions you would commonly place Center Marks first and then dimension to them in order to get the proper spacing to the Center Mark for the dimension extension lines. The problem was that if you delete the Center Mark, the dimensions were left dangling. SolidWorks 2010 will allow you to dimension first, and place the Center Marks later with no negative effects.
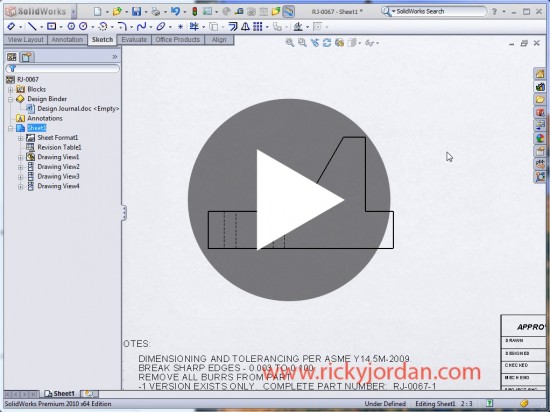
Click on the image below to watch a short VIDEO demonstrating these new enhancements.
Stay tuned….much more to come on SolidWorks 2010!


